Cardboard Box Costumes for Book Week
- Created by: By Jenny I and the Logan Central Library Staff
- Age Range: 5 + with adult help
- Difficulty Level: Easy/Medium
- Approximate Cost: Free
Each year the Children's Book Council of Australia (CBCA) celebrates Book Week and finalises the prizes for shortlisted books.
The 2020 Book Week was postponed due to the COVID-19 pandemic. But the theme "Curious Creatures, Wild Minds" is now ready to launch on October 17, 2020!
Part of the celebrations include inviting schools, libraries, child care centres and kindergartens to encourage children to dress up as their favourite book character. Let's help children express their love of books!
This tutorial offers some ideas for costumes using some of this year's shortlisted award books. You can have fun creating the costumes with your child.
A cardboard box and other simple materials from around your home are all you need.
To view these costumes, check out the Book Week Display at Logan Central Library from 10-23 October, 2020.
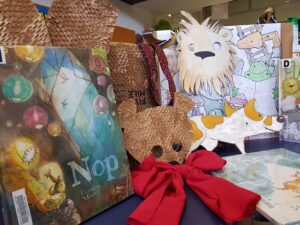
"Nop" The Bear Costume
https://logan.bibliocommons.com/item/show/1119472098
Materials
- Cardboard box and packaging materials
- Scissors, craft knife, glue, tape, stapler, ruler
- Pencil, felt tip pens or paints
- Old brown, red, orange or yellow clothes or fabric scraps
- Old business tie or strips of old teatowel/sheet
- 5 rubber bands or 1.2m of elastic
-
Step 1
Find a narrow rectangular cardboard box that your child can step into.
The box will form the body of "Nop" the bear.
Peel any excess tape off so that pens, paint or glue can adhere better.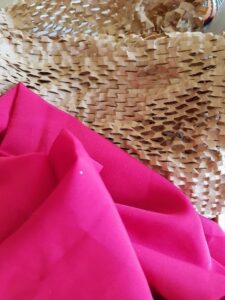

-
Step 2
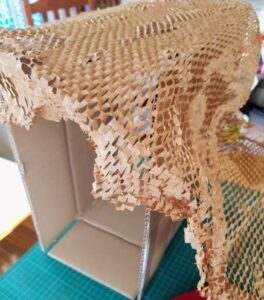
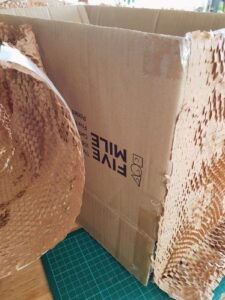
Tape or glue your choice of "bear fur" around all sides of the box. Brown, orange or yellow fabric would make great bear fur.
Or you can use an old fleecy jumper turned inside out!
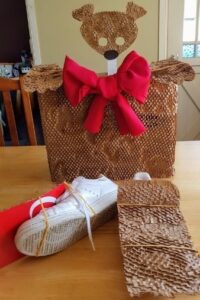
Or you could paint or draw the bear fur. (Sample photos show packing material received in a parcel.)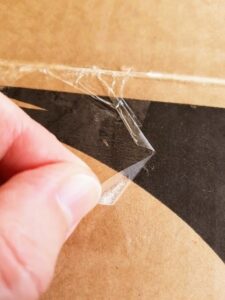
-
Step 3
Print and cut out the bear templates (see end of tutorial) and glue to cardboard boxes as shown.
If you don't have a printer, you can draw the shapes yourself.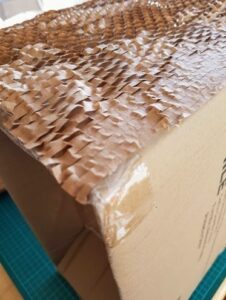
-
Step 4
Cut out shapes for the bear mask, feet and paws.
Flip over to plain side of cardboard. Cover with more "bear fur". It is okay to overlap edges.
Flip to reverse again and trim away excess "fur" up to the edge of each piece.
Cut out the eye holes.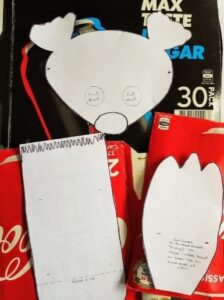
-
Step 5
Find some red ribbon or fabric from old clothes or fabric scraps. Tie a large bow to create Nop's bow tie.
This can be attached to the top of box with tape or tied around your child’s neck.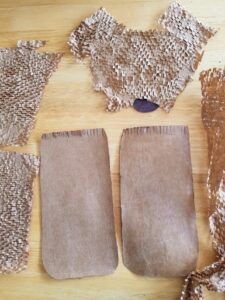
-
Step 6
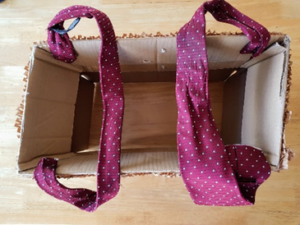
Cut a business tie in half to form two straps. (Or two lengths of scrap fabric (eg. an old tea towel cut in long strips, approx. 50-60cm).
These will become shoulder straps to hold the costume on.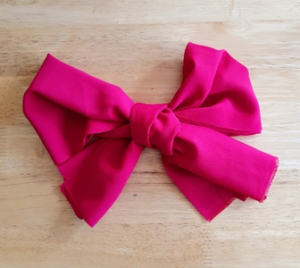
-
Step 7
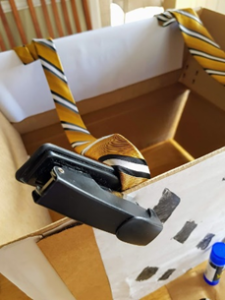
Staple the end of one strap to the inside back of the box a few centimetres from the edge. Repeat on both left and right.
Your child should wear the costume to measure correct length and position of the straps. Staple straps onto inside front of the box.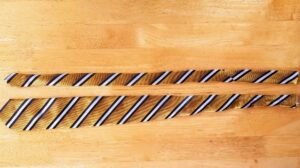
-
Step 8
Finalise costume by taping rubber bands to the undersides of the feet and paws at marked positions.
(A quicker solution is to slide rubber bands across bear feet and paws – however this will show on top of the feet and paws).
-
Step 9
Make holes where marked on the bear mask.
Cut a large rubber band in half or use a piece of elastic to thread and knot through the holes. Fit to your child's head.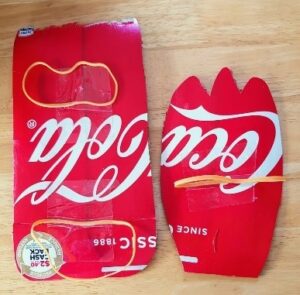
-
Step 10
Your child should wear a light outfit under their costume. Your child can step into the "body" placing straps on their shoulders.
Your child can then slide their shoes and hands into the cardboard costume pieces.
Secure the big red bow tie, fit the bear onto face and "Nop" is ready to explore the world!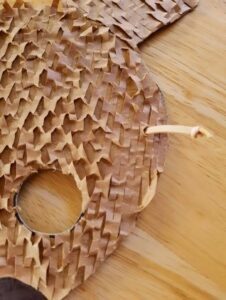
Fern and "Three"
https://logan.bibliocommons.com/item/show/1111365098
Materials
- Cardboard box or large piece of cardboard
- Scissors, fabric glue, tape or stapler
- Pencil, colouring pencils or felt tip pens or paints
- Brown skirt or pants, Red hoodie/cardigan, white T-shirt
-
Step 1
Cut the side of a cardboard box, big enough to become a small 2D dog for our child to carry (approx. 30-40cm nose to tail).
Peel any excess tape off so that pen or paints can adhere better. -
Step 2
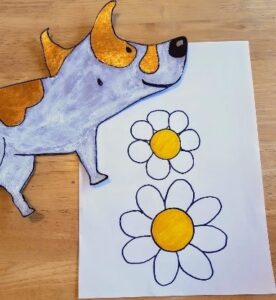
Lightly sketch a life-sized outline of "Three", onto a large piece of cardboard. Let your child colour or paint the fur.
Outline the edges with black pen and draw in the eyes, mouth and nose.
Cut out "Three". This will be your child's dog to carry as part of their costume.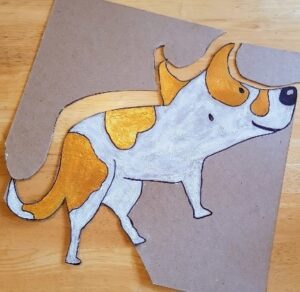
-
Step 3
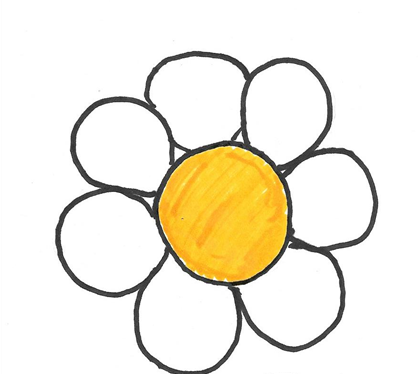
Print the daisy template (see end of tutorial) or sketch your own daisies onto paper or white cardboard box (eg. inside of a tissue box).
-
Step 4
Cut out the daisies and add to the centre of your white T-shirt and pockets or sides of your red hoodie/cardigan.
Refer to the book's last pages for Fern's look.
Glue, double sided tape or staples work well for this. -
Step 5
Dress up in similar colours to the human character, Fern - brown pants/skirt, white T-shirt and red hoodie/cardigan.
Your child can scoop up their new dog and go, go, go!
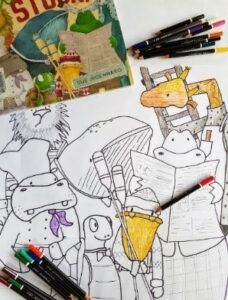
"We’re Stuck!" elevator and animals
https://logan.bibliocommons.com/item/show/1095411098
Materials
- Cardboard boxes and packaging materials
- Butcher's paper, leftover paper from printer or white paper
- Scissors or craft knife, glue, tape, stapler, ruler
- Pencil, colouring pencils or felt tip pens or paints
- An old tie or strips cut from an old tea towel
- Long rubber band or 25 cm of elastic
-
Step 1
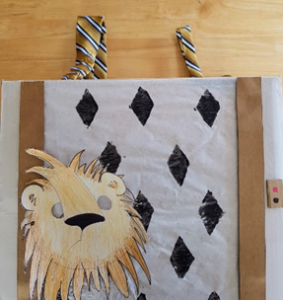
Find a square cardboard box that your child can step into. The box will become the elevator.
Peel any excess tape off so that pen, paint, glues, etc can adhere better. -
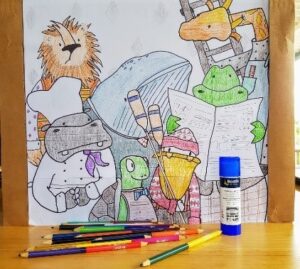
Step 2
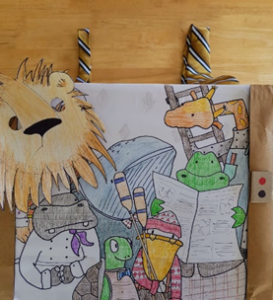
Make up a sheet of blank paper the same size as the largest side of your cardboard box.
Using a pencil, sketch some of the animals from the elevator. Let your child choose their favourite ones.
Go over your drawing in black felt pen, then let your child colour in the animals.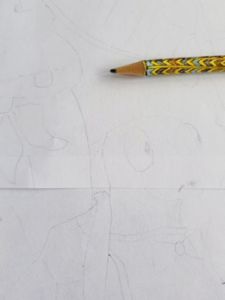
-
Step 2 - Easy Version
If you do not wish to draw, make the background only of the elevator.
Your child can dress up as one of the animals. Look carefully at the book illustrations. Each animal has a different occupation!To make the background, cut a small diamond out of cardboard or packaging scraps (approx. 7cm high and 4cm wide).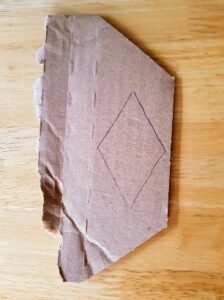
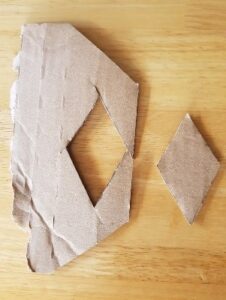 Mix some paint up on an old lid and use the diamond as a stamp.
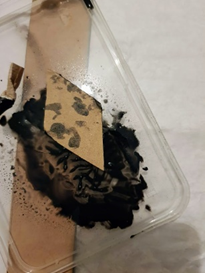 Let your child hold the diamond in their fingers and stamp onto the paper. Yes - this is messy!
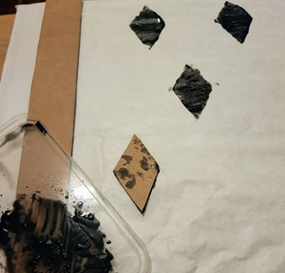
-
Step 3
Let your child glue a brown strip of cardboard about 5cm wide down the length of both sides of your box.
This will be the "open doors" of the elevator.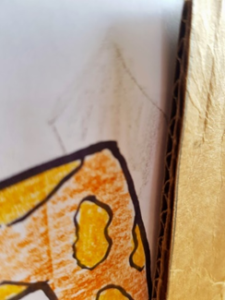
-
Step 4
Let your child cut a small rectangular piece of cardboard for the "buttons" of the elevator.
Draw on the buttons. Glue in place.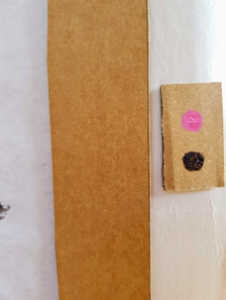
-
Step 5
Ask your child which animal they would like to be.
Draw a simple mask using the book characters as a guide. You could also print a mask from the internet.
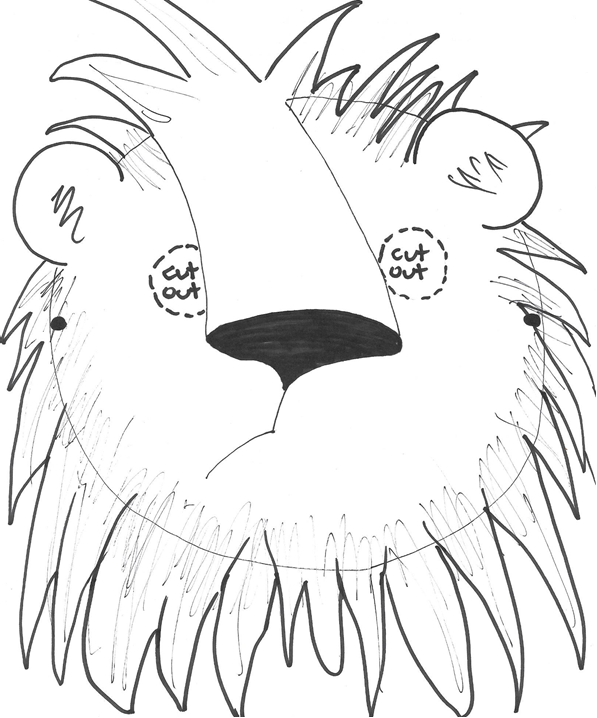
A lion mask is included at the end of this tutorial.
Print and cut out mask template and glue to a piece of cardboard as shown.
Let the glue dry, then colour or paint the mask. When dry, cut out the lion’s face.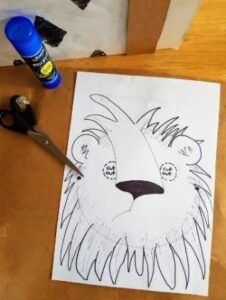
-
Step 6
Cut an old tie in half or make long strips of fabric from an old tea towel.
-
Step 7
Each strip will make a shoulder strap for the elevator costume.
Staple the tie to the inside of the back of the box.
Ask your child to put on the costume. Staple strips to the front of the box, according to where it is most comfortable and secure for your child.
We are sure your child will not be "stuck" in this elevator for very long.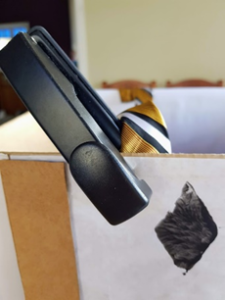
Want to explore further?
Check out these links for more ideas and award winning books.
https://logan.bibliocommons.com/list/share/388639247_loganlib_jennyi/1725211149_cardboard_box_creations_for_kids_and_adults
https://logan.bibliocommons.com/list/share/492418159_bookie__monster/1623197916_cbca_book_of_the_year_early_childhood
https://logan.bibliocommons.com/list/share/492418159_bookie__monster/1623196747_cbca_picture_book_of_the_year
https://logan.bibliocommons.com/list/share/492418159_bookie__monster/1623207549_cbca_book_of_the_year_younger_readers
Templates for Costumes
-
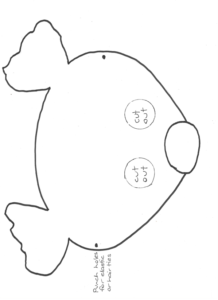
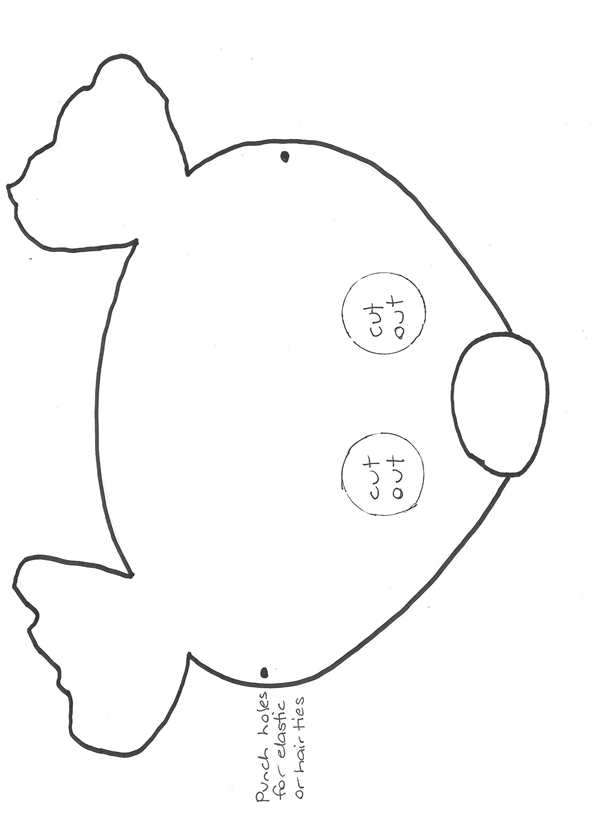
Nop mask
-
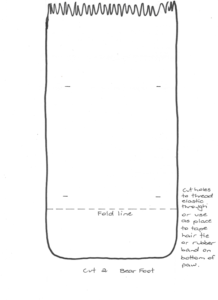
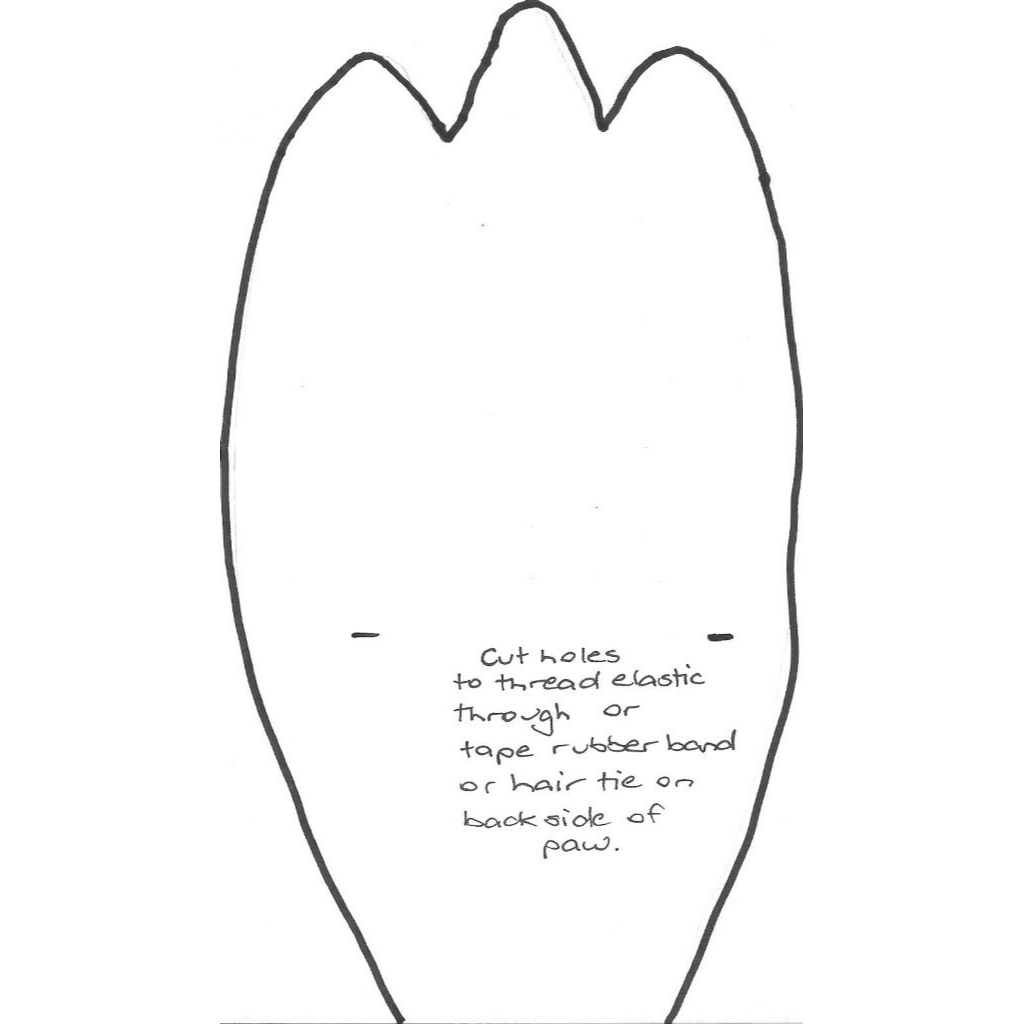
Nop foot
Cut two of these
-
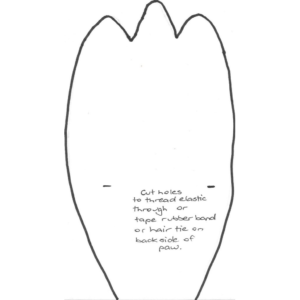
Nop paw
Cut two of these
-
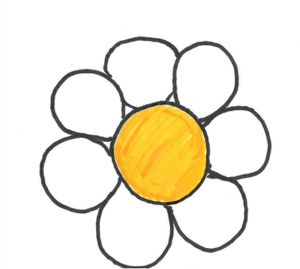
Three flower
-
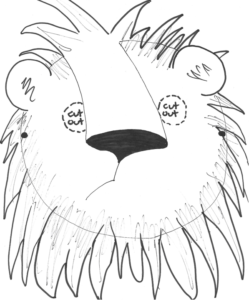
We're Stuck lion mask